The Social Guide
CREATED BY
10:35
Wix Editor X Tutorial 2023 (How To Use Wix Website Editor)
```
Wix Editor X Tutorial 2023 (How To Use Wix Website Editor)
Hey guys! Welcome to another blog post from Live Learning EditorX, the go-to place for monthly NoCode design challenges with fantastic prizes up for grabs, as well as mentoring on how to build your design business and further your career in the industry. Today, we're diving into an exciting topic - Wix Editor X, the premium website editor that takes your website building experience to another level.
In this tutorial, we'll be showing you how to use Wix's Editor X, an advanced website editor that offers more customization and flexibility than the basic Wix editor. This powerful platform is perfect for experienced designers, freelancers, and others who want to create stunning websites without the need for advanced coding skills.
So, let's not waste any more time and get started with this Wix Editor X tutorial.
Step 1: Signing Up for Wix Editor X
To start using Wix Editor X, the first thing you need to do is sign up for an account. Click on `Start Now`, and you'll be directed to a page with login options. You can sign up using your email address or by connecting your Google or Facebook account.
!signup
After signing up, you'll be taken to the main dashboard of Wix Editor X, where all the magic happens.
Step 2: Select Your Designer's Profile
As soon as you're on the dashboard, you'll be asked to describe yourself as a designer. This helps Wix Editor X customize your experience to better suit your needs. You can select options like Web Designer, Marketer, Freelancer, Developer, or other similar profiles. For our tutorial, we'll be choosing the Designer and Freelancer options.
!profile
Once you've made your selections, click on `Get Started` to head to the next step.
Step 3: Choose a Template
Before jumping into the actual editor, you'll want to start with a template. Wix Editor X offers a wide selection of pre-designed templates, so you can quickly find something that matches your vision. Whether you're building a portfolio site or creating an e-commerce platform, there's a template for every purpose.
!templates
Simply browse through the available options and select the one that suits your project best. If you prefer to start from scratch, you can also pick a blank template.
Step 4: Wix Editor X Interface
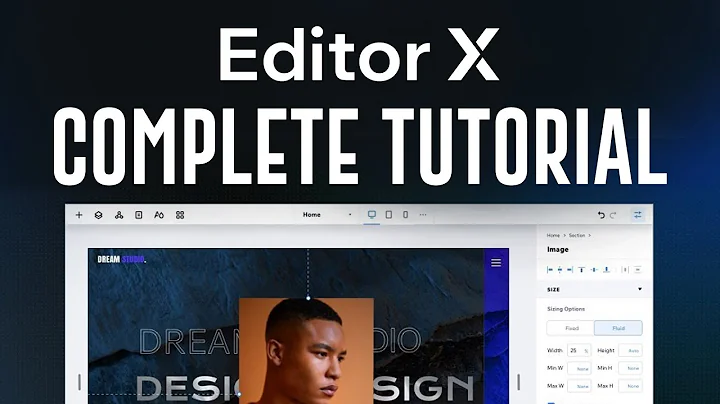
Now that you have your template, it's time to dive into Wix Editor X's user interface. You'll notice that the platform is intuitive, with all necessary tools neatly organized for easy access.
Here's a quick rundown of the main sections of the editor:
- Top Toolbar: Here, you'll find options for Undo/Redo, Save, Preview, and Publish. Use these tools to manage your changes, see how they look on a live site, and finally, go live with your masterpiece.
- Left-Side Panel: This section gives you access to all essential design tools like adding elements, managing pages, editing the background, and more.
- Canvas Area: This is the main working area where you'll build and customize your site using drag-and-drop functionality.
!editor
Step 5: Customizing Your Website
With your chosen template and the right tools at your fingertips, you can now start customizing your website to match your vision. Be it changing text, images, colors, or even adding new sections - Wix Editor X lets you do it all seamlessly.
Here are some tips to help you get started:
- To change text, simply double click on a text box and type in your content.
- To replace images, select the image, click on "Change Image", and upload the desired photo.
- You can create grid layouts using Stack & Scale to ensure your design appears responsive on different devices.
- Drag and drop elements onto the canvas to add new sections or components to your site.
- Use the right-click context menu options to duplicate, delete, or organize your elements.
Remember, Wix Editor X gives you complete control over your design, so take your time to explore all the features available to create a flawless website that reflects your vision.
!customizing
Step 6: Preview and Publish
Once you're satisfied with your design, click on the `Preview` button available in the top toolbar. This will take you to a live version of your site, allowing you to test the responsiveness and functionality of your design across various devices.
Once you're confident that everything's in place, hit the `Publish` button on the top toolbar. Your website will now be live and ready for the world to see!
!preview
And that's it! With these six steps, you're well on your way to mastering the Wix Editor X platform and creating stunning, responsive websites for your projects. But the journey doesn't end here. By joining the Live Learning EditorX community, you can participate in monthly NoCode design challenges, receive valuable mentoring, and continue to grow your design business and career.
Good luck on your Wix Editor X journey, and happy designing!
```


Join over 5,000+ people learning, helping each other to scale their freelance/design business, taking no-code challenges, collaborating, talking about their projects, and more!
Join Designers & Creatives From All Over The World!

More Like This #Tag


