Rich Vargas
CREATED BY
6:58
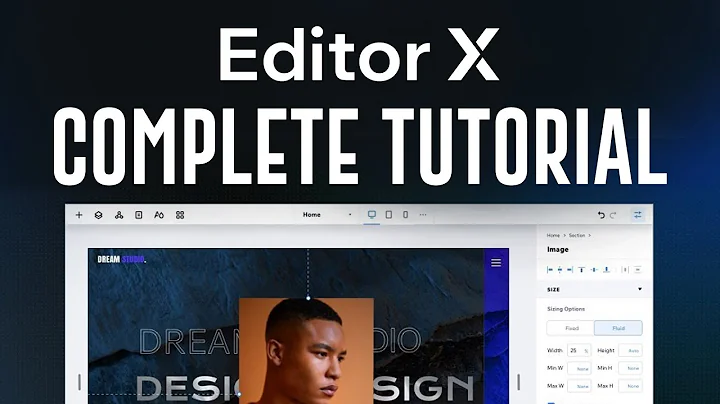
Wix Editor X Tutorial: How to Add A Hamburger Menu
Wix Editor X Tutorial: How to Add A Hamburger Menu
A hamburger menu is an essential element for modern, responsive web design. It allows users to access the navigation on smaller devices, such as smartphones and tablets. In this Wix Editor X tutorial, we will walk you through the process of adding and customizing a responsive hamburger menu for your website.
But before we dive into the tutorial, don't forget to check out livelearning.editorx.io - a fantastic website that offers monthly NoCode Design Challenges with prizes! By joining their community, you can benefit from mentoring and guidance on building design businesses and furthering your career.
Now, let's get started with our tutorial!
Step 1: Hide the default menu on smaller breakpoints
In Wix Editor X, you can easily hide the default menu on smaller breakpoints to make space for your responsive hamburger menu. First, go to your desired breakpoint, such as the mobile view, then click on the Layers panel, and scroll down to the 'Menu' layer.
Select the three dots for more actions and then click 'Don't Display' to hide the menu for that breakpoint. This way, the menu will only show on larger breakpoints, like desktop view.
Step 2: Add a hamburger menu
To add a new hamburger menu to your website, go back to the smaller breakpoint in which you want the menu to appear, such as the mobile view. Then, follow these steps:
1. Click on 'Add Elements' in the top-left corner of your screen.
2. Scroll down to 'Menu' and click on 'Hamburger Menus'.
3. Choose a hamburger menu design from the available options. For this tutorial, we will go with a simple three-line icon.
The new hamburger menu will automatically be added to the center of your page. Simply drag it to the desired location, such as the top-right or top-left corner of your screen.
To align your menu perfectly, go to the 'Inspector Panel' and select the 'Align' option. Choose 'Middle' to place the menu directly in the middle of your page's header.
Step 3: Customize your hamburger menu
Now that your hamburger menu is in place, you can start customizing its appearance. First, change its color to match your website's branding. To do this, simply click on the 'Design Menu Icon' and select the appropriate color swatch.
Next, you'll need to customize the menu container that appears when users click on the hamburger menu. Again, click on the 'Design Icon' and choose the desired color, background, and other styling options for your menu container.
Step 4: Make your hamburger menu responsive
To ensure your hamburger menu is fully responsive and works seamlessly across various devices and screen sizes, follow these steps:
1. Click on the hamburger menu and go to the 'Open Menu' setting.
2. Select the menu container and click on the 'Design Icon'.
3. Choose the desired styling options for your menu items, ensuring they are easy to read and interact with on smaller devices.
That's it! Your new responsive hamburger menu is now ready to use.
Wrapping up
In this Wix Editor X tutorial, we've shown you how to add, customize, and make a responsive hamburger menu for your website. By following these simple steps, you can create a seamless and user-friendly navigation experience for your visitors, regardless of the device they are using.
Don't forget to check out livelearning.editorx.io for more tutorials, design challenges, and inspiration for your next web design project!
Happy designing!


Join over 5,000+ people learning, helping each other to scale their freelance/design business, taking no-code challenges, collaborating, talking about their projects, and more!
Join Designers & Creatives From All Over The World!

More Like This #Tag


